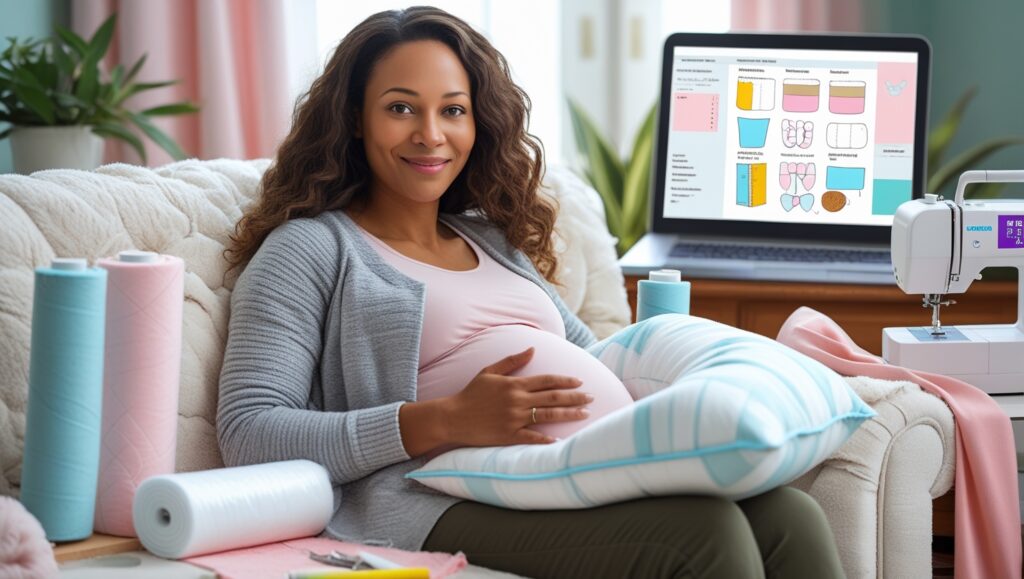
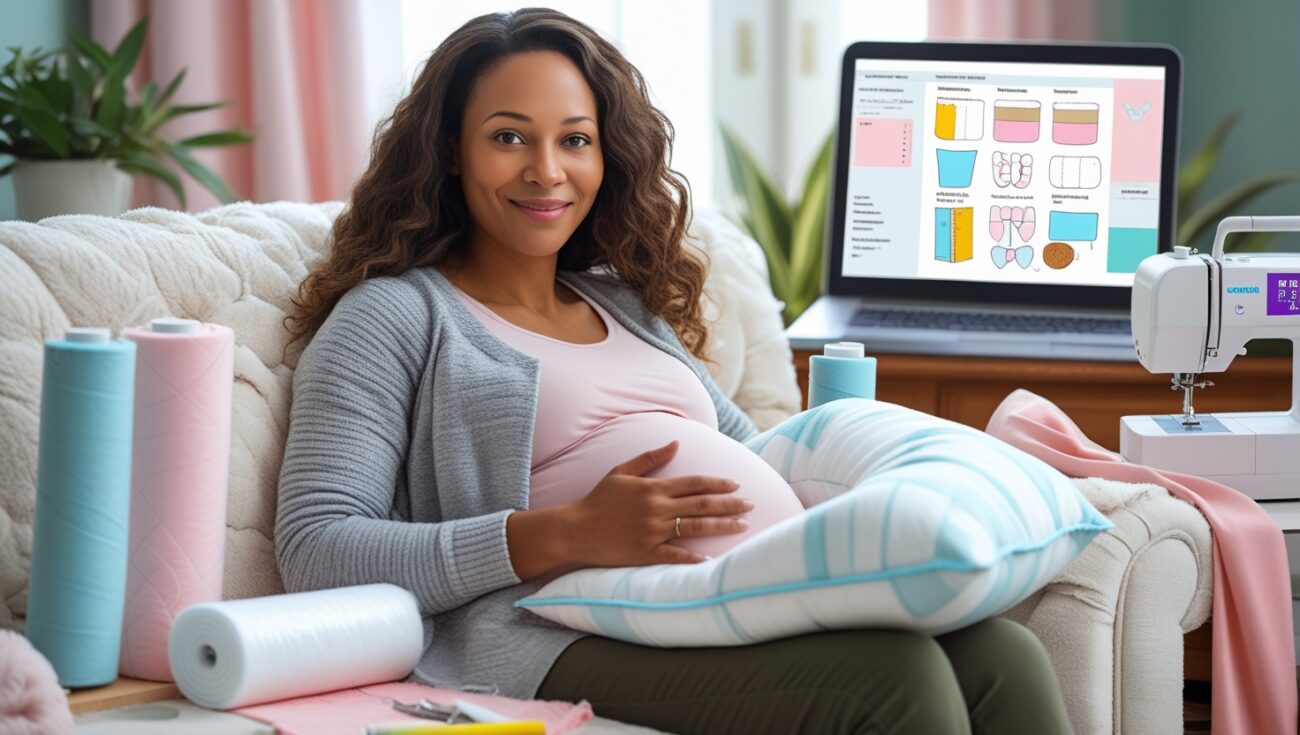
How to Make a DIY Pregnancy Pillow at Home (Step-by-Step)
To make a DIY pregnancy pillow at home, choose a soft but supportive filling, cut fabric to your desired pillow shape, sew three sides, fill it evenly, and stitch the last side closed. This budget-friendly method gives you customized comfort for pregnancy support.

Table of Contents
When I first started shopping for maternity pillows, I was shocked by the price tags. Some were worth it, but I also wanted to see if I could make my own for a fraction of the cost—and the answer was yes. Creating a DIY pregnancy pillow at home is surprisingly simple, and the best part is that you can customize it to your body and preferences.
Here’s exactly how I made mine, step-by-step.
Step 1: Choose Your Shape
Before starting, decide whether you want a U-shape, C-shape, or a simple long body pillow. U-shapes give the most full-body support, while C-shapes are easier to move around.
- I based mine on the U-Shaped Pregnancy Pillow for maximum coverage.
Step 2: Gather Materials
You’ll need soft fabric, a zipper or needle and thread, and your preferred filling. Cotton or bamboo fabric works well for breathability, and polyester fiberfill is affordable and supportive.
- I used Polyester Fiberfill Stuffing and Soft Cotton Fabric.
Step 3: Cut the Fabric
Cut two identical pieces of fabric in your chosen shape, leaving an extra inch around the edges for seam allowance. Make sure it’s long enough to support your head, back, and legs.
Step 4: Sew Three Sides
Place the fabric pieces together, right sides facing in. Sew around the edges, leaving one end open for filling. If you’re using a zipper, this is where you’ll add it for easy removal and washing.
- A Beginner Sewing Machine makes the process much faster.
Step 5: Add the Filling
Fill the pillow evenly so it’s firm but still soft enough to mold around your body. You can mix different fillings for a custom feel—polyester for softness, foam for firmness.
Step 6: Close the Pillow
Sew the final opening closed or zip it up if you added a zipper. Give it a few squeezes to make sure the filling is distributed evenly, and adjust if needed.
Final Tip: Making your own pregnancy pillow can save money and give you a level of customization store-bought ones can’t match. Plus, it’s a fun project that can be done in just a few hours.
One of the biggest advantages of making your own pregnancy pillow is that you can control the firmness. Store-bought pillows often come in a standard density, but when you make it yourself, you can add more filling for extra support or use less for a softer, more flexible feel.
- I used Premium Polyester Fiberfill for a balanced mix of softness and structure.
Another benefit is being able to choose a fabric that works for your climate. If you live somewhere warm, a breathable cotton or bamboo fabric keeps you from overheating. For cooler areas, flannel or fleece adds extra warmth.
- The Bamboo Fabric by the Yard was perfect for my summer pregnancy.
Custom sizing is another perk. I made my pillow a few inches longer than standard so it could fully support my feet and ankles, which helped with swelling.
- A Flexible Measuring Tape makes it easy to get the right dimensions.
You can also design the pillow to be multi-purpose. I shaped one end slightly flatter so I could use it as a backrest for reading and nursing after pregnancy.
- The Heavy-Duty Zipper Kit made it easy to remove the cover for washing.
DIY pillows are also great if you have allergies. You can choose hypoallergenic fillings and fabrics to make sure you’re sleeping on something safe and skin-friendly.
- I went with Hypoallergenic Fiberfill to avoid irritation.
Adding a washable cover is a game-changer. I made two covers so I could switch them out on laundry day without having to wait for one to dry.
- The Sewing Pattern Set for Pillowcases helped me make covers that fit perfectly.
If you want the pillow to last, use reinforced stitching on the seams. Pregnancy pillows get a lot of movement and pressure, so strong seams keep the filling from shifting or leaking.
- I recommend Heavy-Duty Upholstery Thread for durability.
The cost savings are impressive. My DIY pillow cost less than half of what a high-quality store-bought one would have been, and it’s tailored exactly to my comfort preferences.
- Buying Bulk Fiberfill Stuffing can save even more money.
If you want to get creative, you can add small compartments or sections to the pillow. This helps keep the filling from moving around too much and gives you targeted support.
- The Fabric Marking Chalk made it easy to section my design.
Some DIYers like to add a light scent to their pillow using lavender or chamomile sachets sewn inside the cover. This can make bedtime feel even more relaxing.
- I used Dried Lavender Sachets for a calming scent.
Don’t be afraid to test your pillow for a few nights and then make adjustments. If it feels too soft, add more filling. If it’s too firm, remove some. That flexibility is the best part of making it yourself.
In the end, creating a DIY maternity pillow wasn’t just a way to save money—it was a way to get exactly what my body needed during pregnancy. It’s proof that you don’t need to spend a lot to get high-quality comfort.
Making my own pregnancy pillow gave me a sense of control over my comfort during a time when so much about my body was changing. Instead of trying to adapt to a standard store-bought design, I created something that adapted to me.
It also felt good to know that the materials I was using were safe, clean, and exactly what I wanted. I didn’t have to worry about mystery fabrics or fillings that might irritate my skin or trigger allergies.
The process of creating the pillow turned into a relaxing project, almost like a form of nesting. It became part of my preparation for the baby, and that made the pillow even more special once I started using it.
Most importantly, the finished pillow actually worked. I slept better, had less hip and back pain, and felt more supported, proving that a DIY approach can be just as effective as anything you buy online or in stores.

